1. Part 1.1: Gradient Magnitude Image
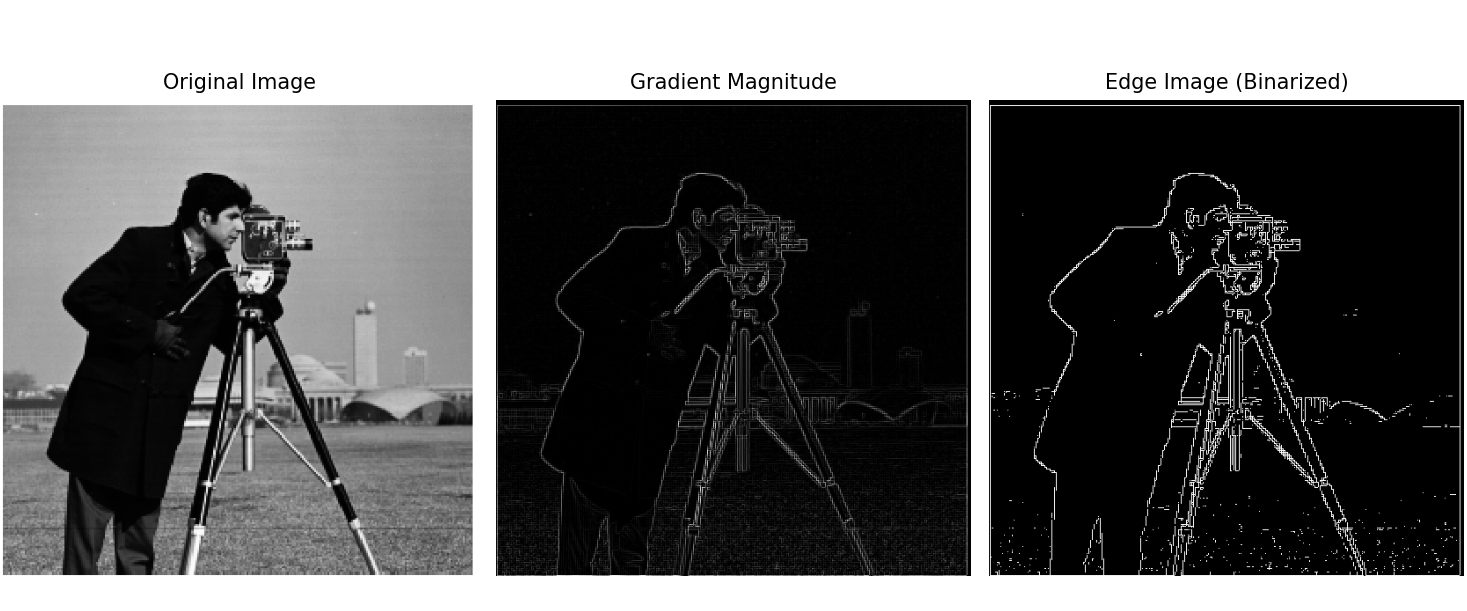
By convolving the image with D_x and D_y, then summing the vector values of both results, we obtain the gradient magnitude image. A threshold value of 0.2 was selected, assigning 1 to values greater than 0.2, and 0 to others, resulting in a binarized edge image. The result is shown below:
2. Part 1.2: Gaussian Blur and Edge Detection
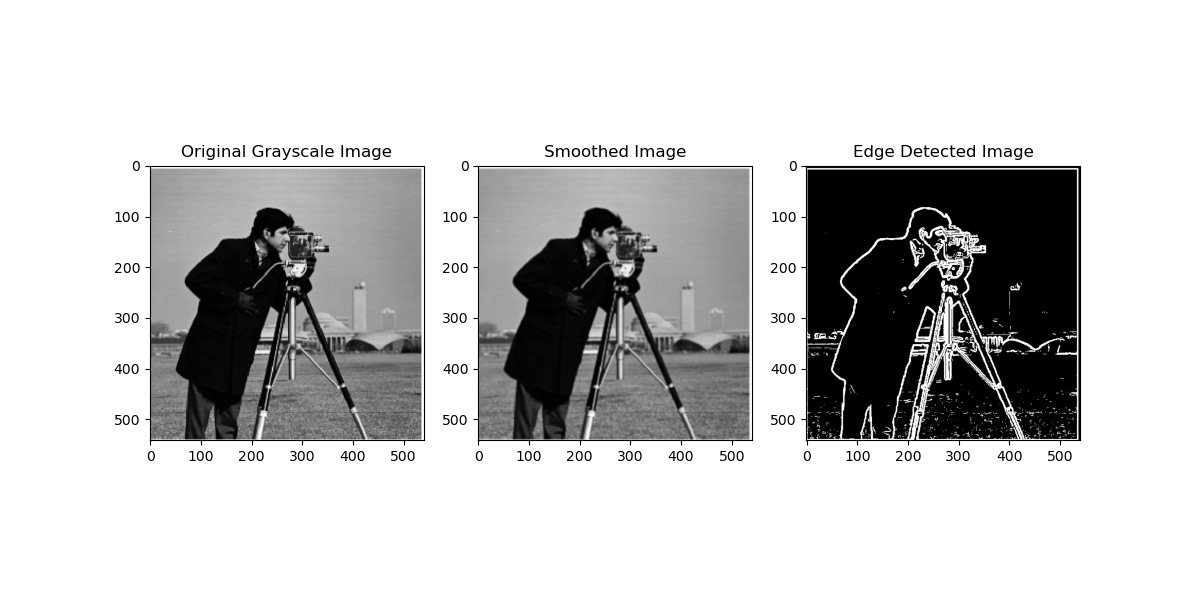
In this part, the image is first Gaussian blurred, with a kernel size of 5 and a sigma value of 1, resulting in a slight blur. Then, the blurred image is used for the edge detection operation in part 1.1, yielding an edge image. It can be seen that the blurred image reflects the edges of the original image more clearly, with fewer noise points and wider, more defined edges. This improvement is likely because the points that were previously misidentified as edges have been smoothed out by the Gaussian kernel, effectively removing the noise. The result is shown below:
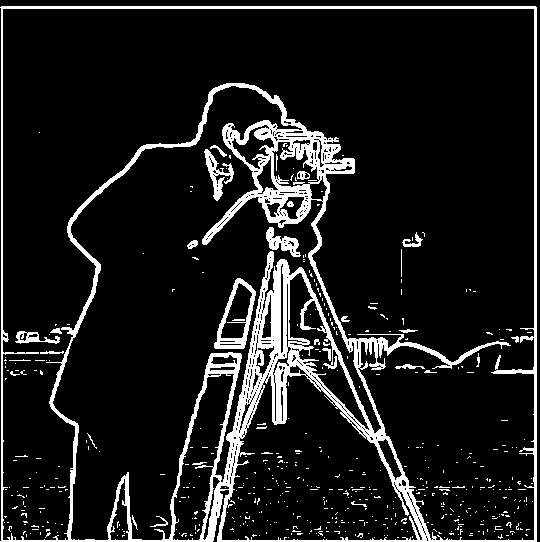
Alternatively, a Gaussian kernel is first blurred and convolved with the image, yielding the same result, shown below:
3. Part 2.1: Image Sharpening
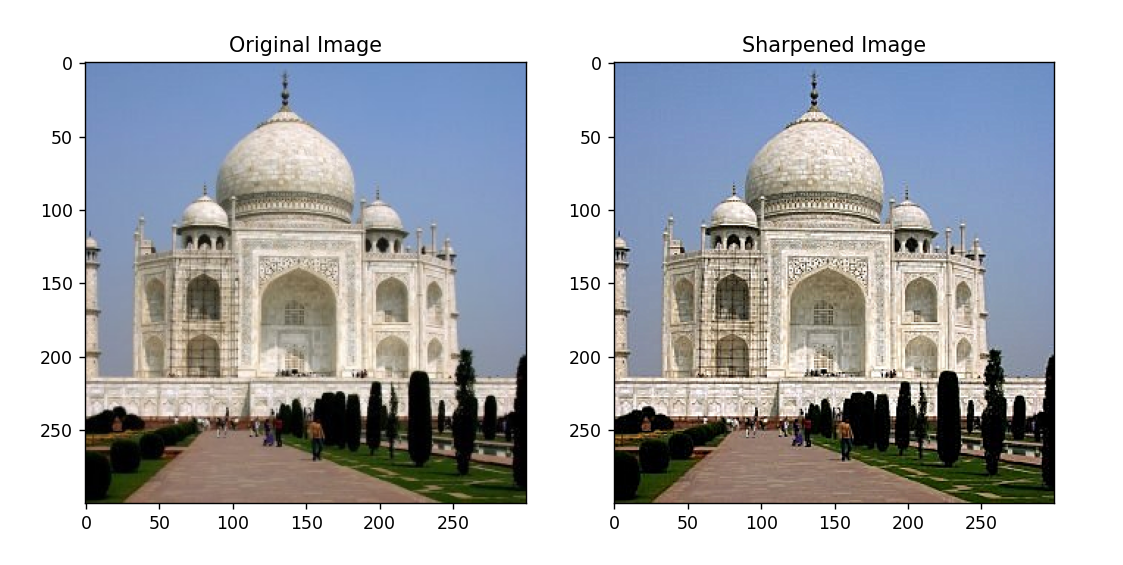
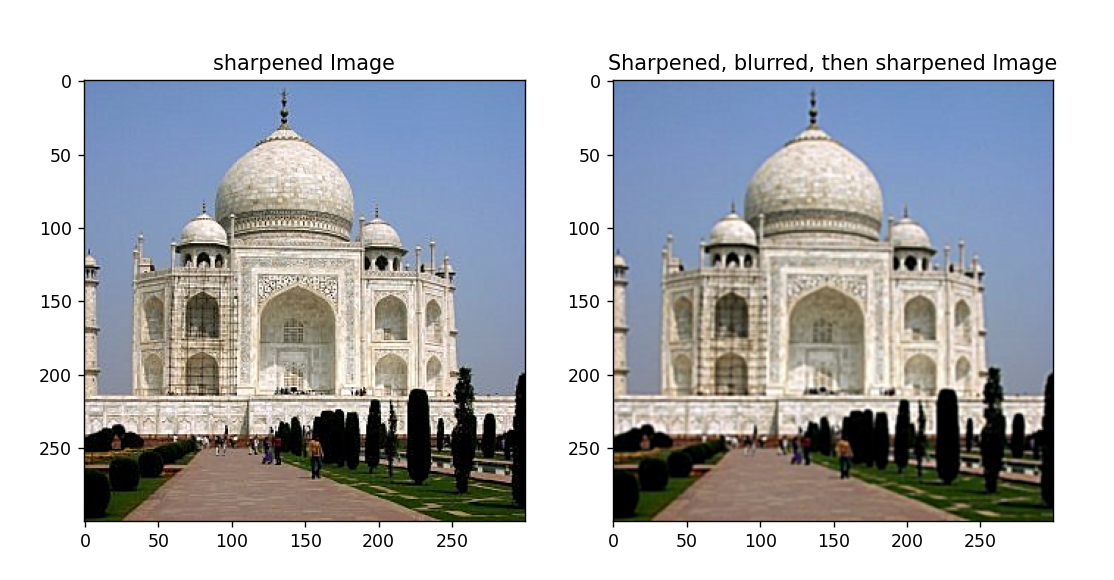
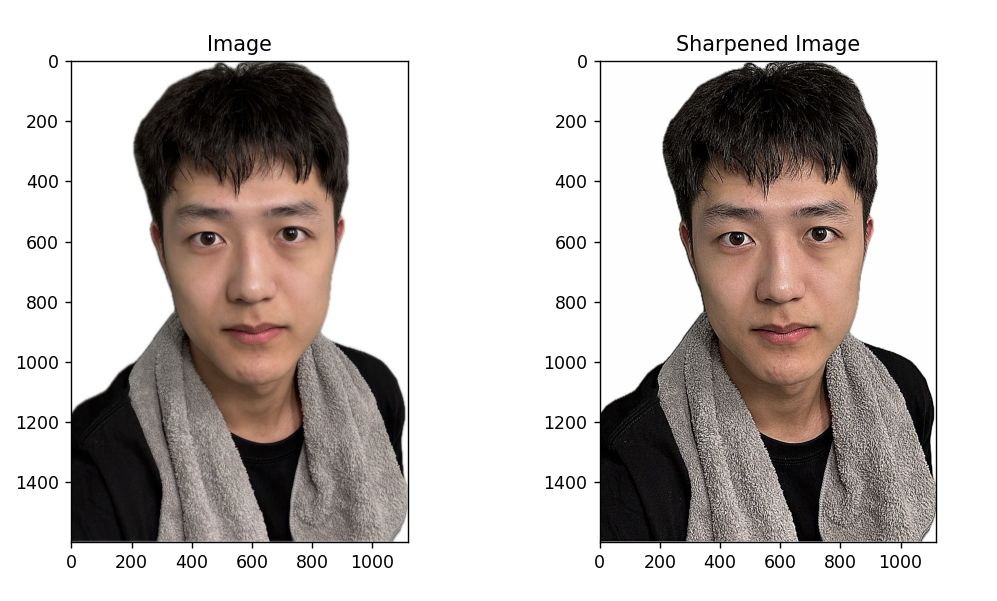
After importing the image, the image is convolved with a Gaussian kernel to obtain the low-frequency information. Then, the low-frequency information is subtracted from the original image to obtain the high-frequency information. Finally, the high-frequency information, multiplied by a sharpening factor, is added back to the original image to produce the sharpened image. The result is shown below:
After sharpening, the image is blurred and then sharpened again. The result is shown below:
After sharpening, the image is blurred and then sharpened again. The sharpening factor is higher than before, but the result is not ideal. The image edges remain fairly clear, but many details are still blurry. This is because the second sharpening was performed after blurring, which removed much of the high-frequency content. While the sharpening process attempts to restore edges and details, the blurring step significantly reduced the image's high-frequency details, making the sharpening less effective than initially. The result is shown below:
Other sharpened images are shown below:
4. Part 2.2: Image Hybriding
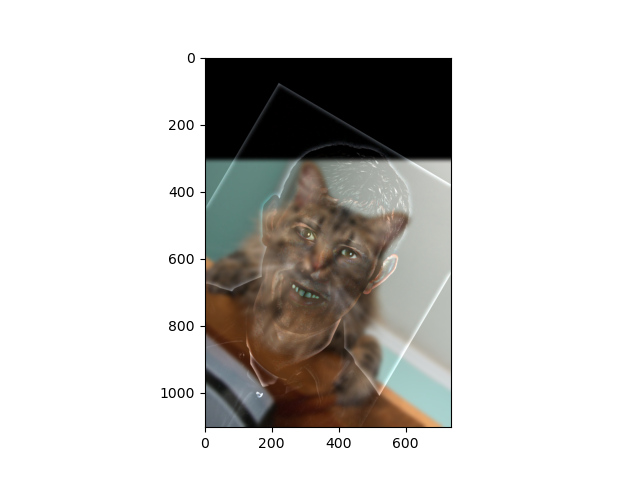
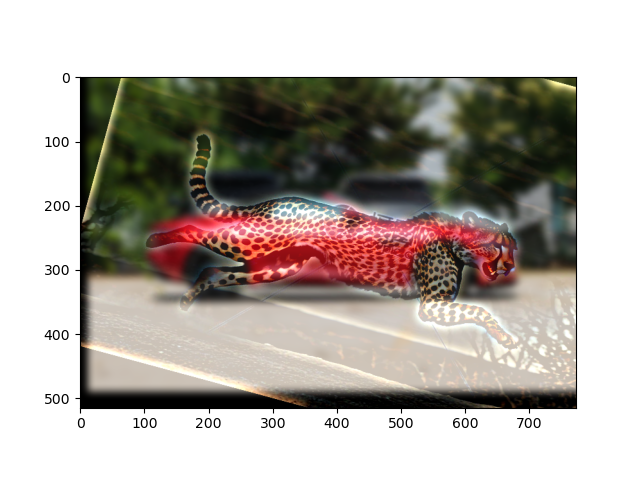
The high-frequency and low-frequency information of two images are hybrided together. The result is shown below:
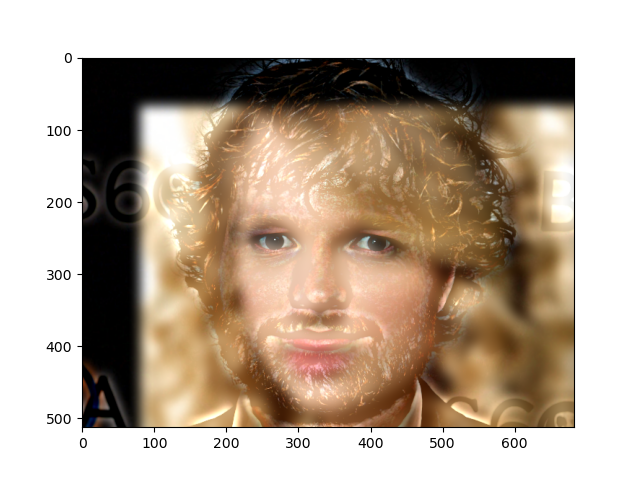
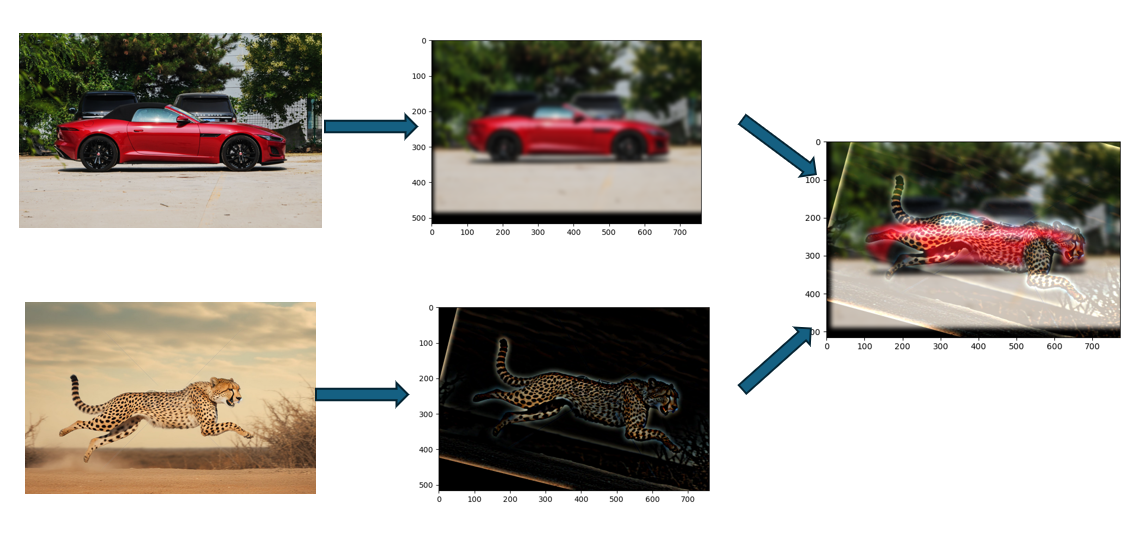
It can be observed that for the first image, the picture is tilted, and the face does not stand out against the background; only the teeth and eyes are visible, resulting in an unsatisfactory fusion of the face and the cat's face. Here, I adjusted the high-frequency information of the image by increasing the color contrast of the high-frequency information, making it more prominent in the image. Below are two more successful cases: the fusion of a car and a leopard, and the fusion of Taylor and Ed.
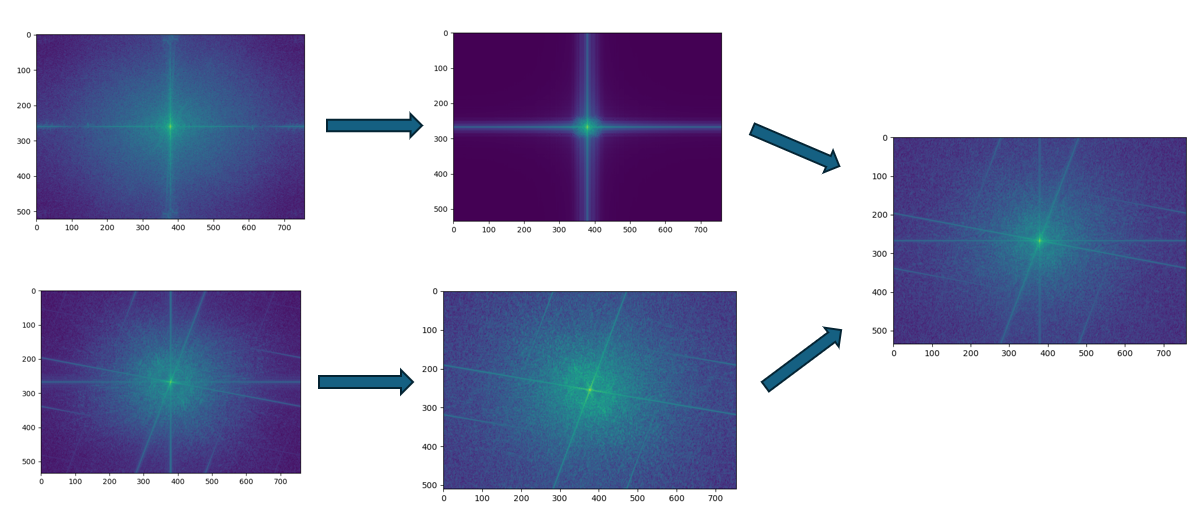
The fusion result of the car and the leopard is my favorite outcome. The original images, the images obtained after extracting the low-frequency or high-frequency information, and the fused image were all subjected to Fourier transformation to obtain the spectrum diagrams. The results are shown below:
5. Part 2.3: Gaussian and Laplacian Pyramid
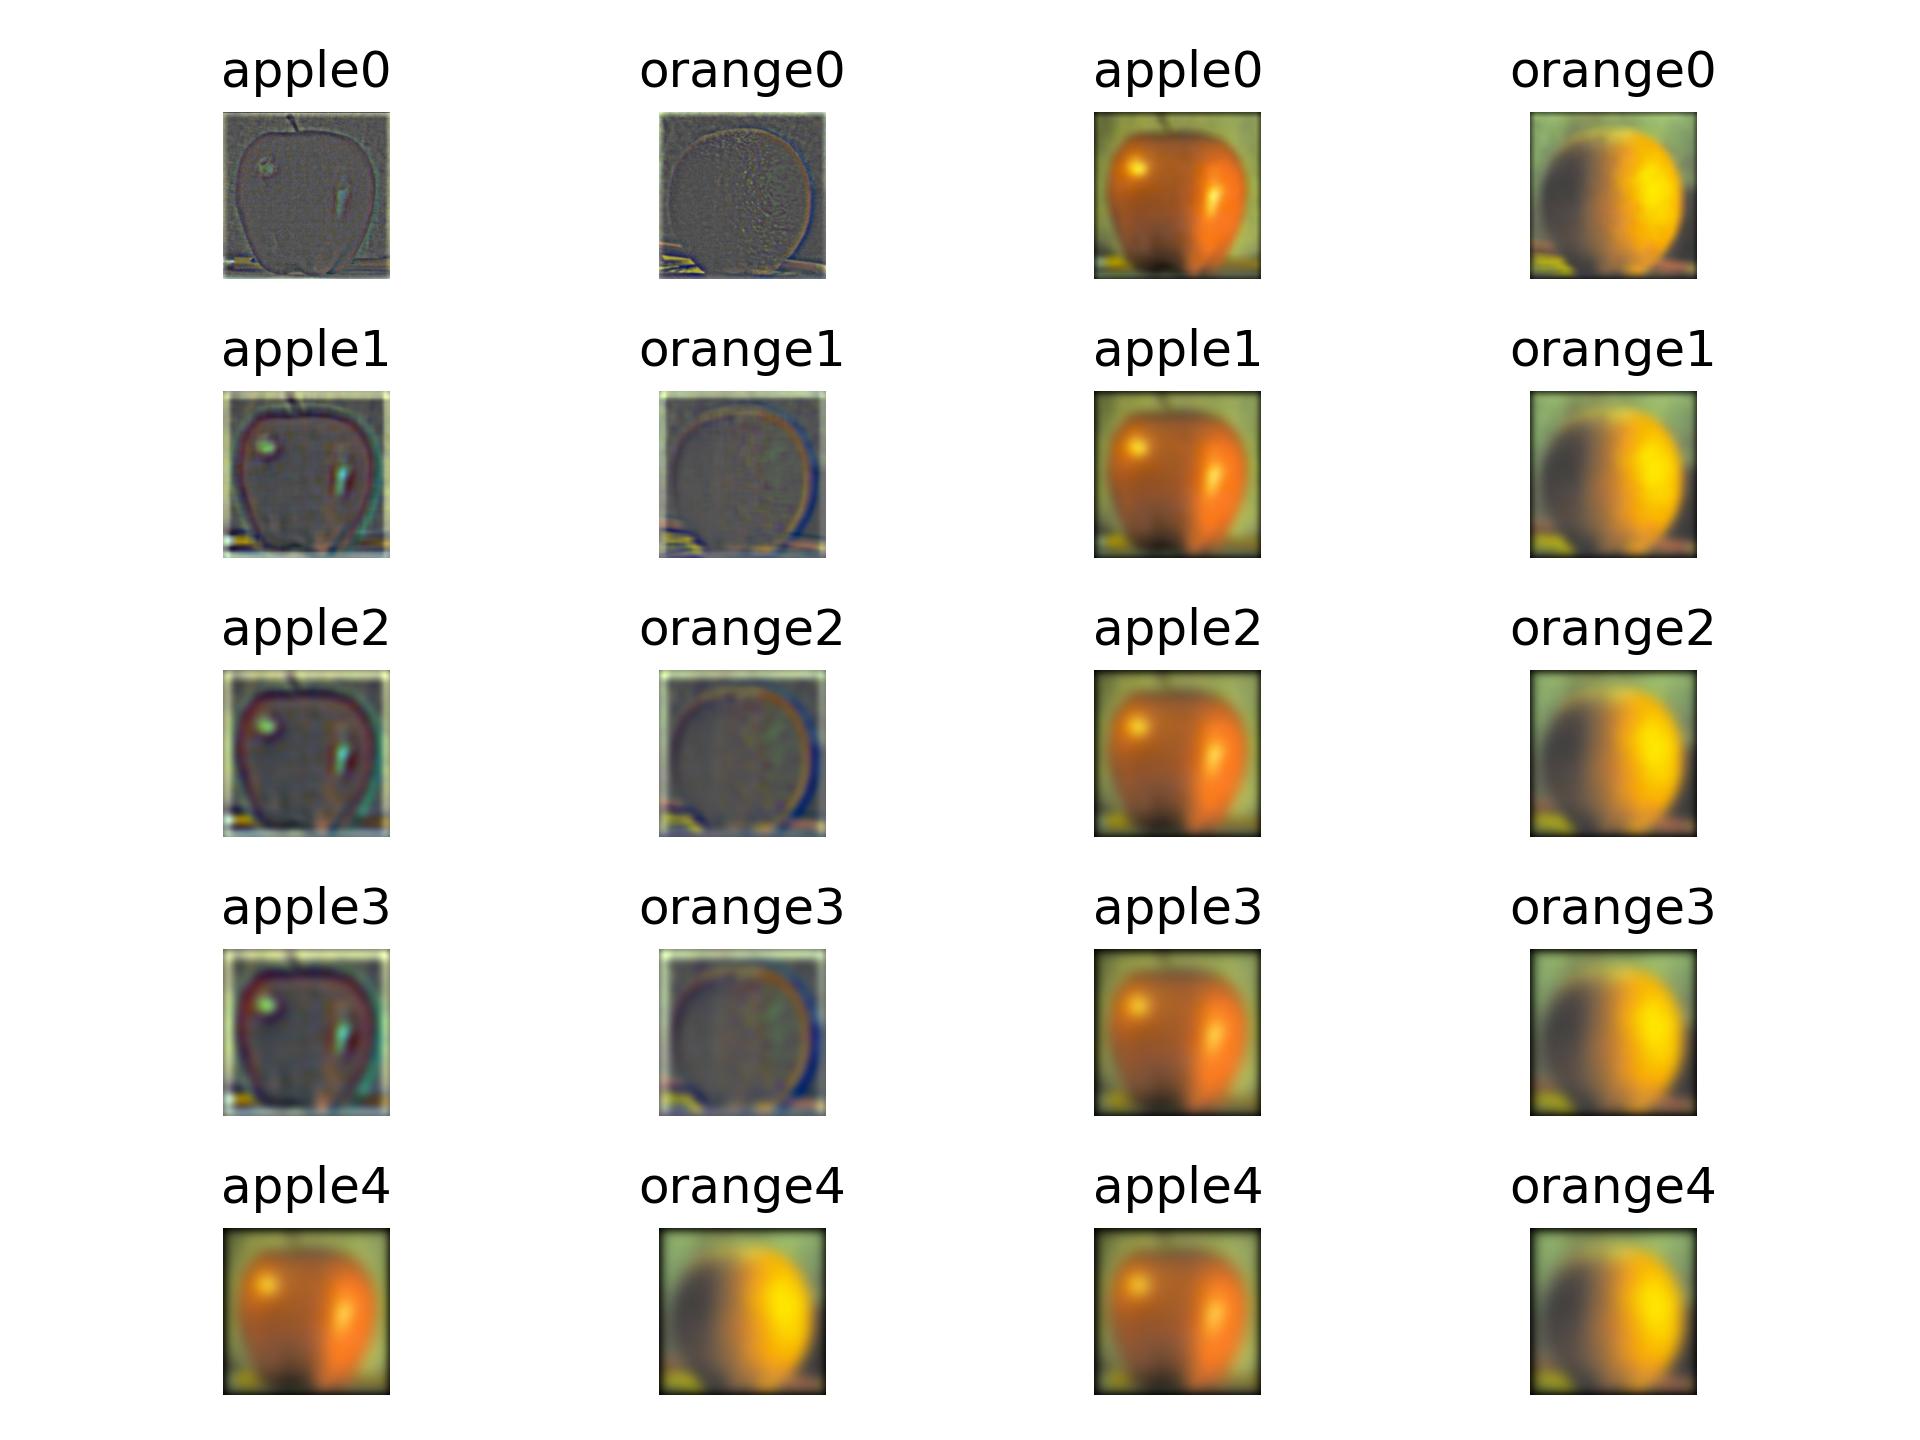
For part 2.3, the image is convolved with a Gaussian kernel to obtain a blurred image. This step is repeated to continuously generate images with increasing levels of blur, ultimately forming a Gaussian pyramid. The adjacent layers of the Gaussian pyramid are then subtracted to obtain the Laplacian pyramid of the image. The results are shown below:
6. Part 2.4: Multiresolution Blending
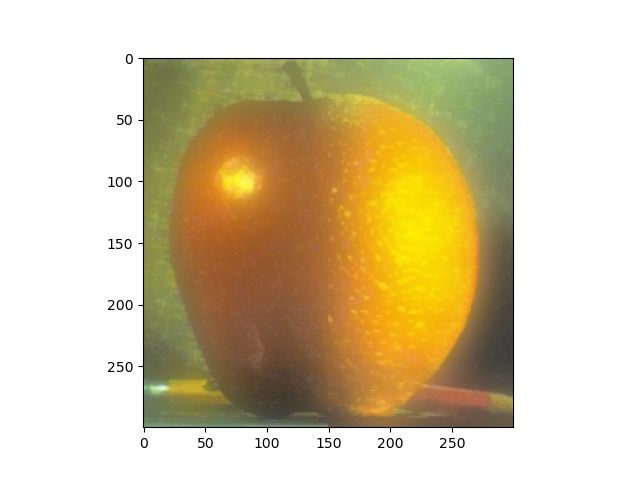
Using the Laplacian pyramid, the images are blended layer by layer. The result is shown below:
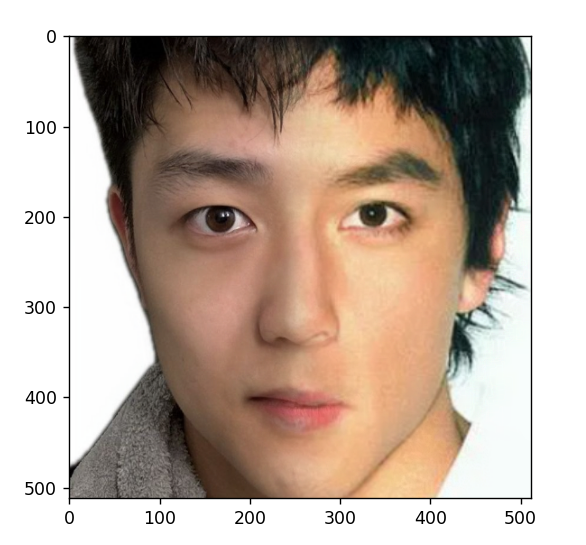
Using the same mask, the blending of two faces can be achieved. The result is shown below:
Face recognition is performed on the two input facial images using OpenCV's Haar feature function. Based on the detected faces, the two images are cropped to the same size, ensuring that the dividing line between the left and right sides of the face aligns with the center line of the image, facilitating subsequent face blending.
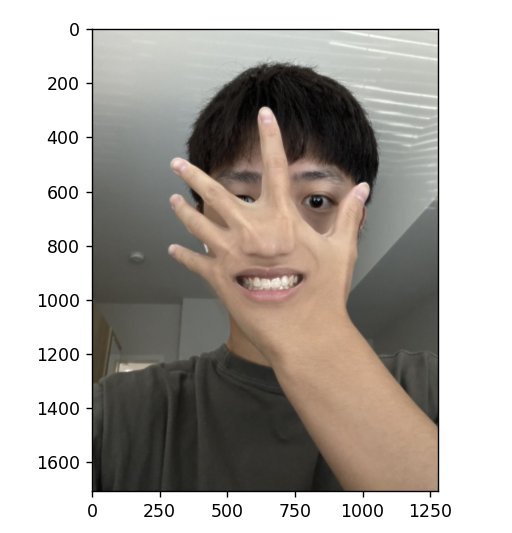
Below is an example using a mask of different shapes, where my hand and mouth are fused together. An elliptical mask was chosen for this purpose, and the result is shown below:
